NEW & FEATURED
-
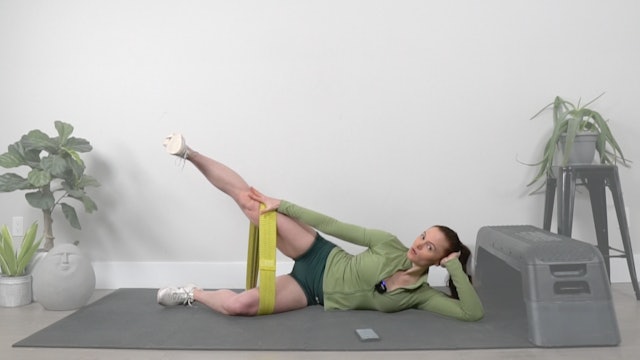
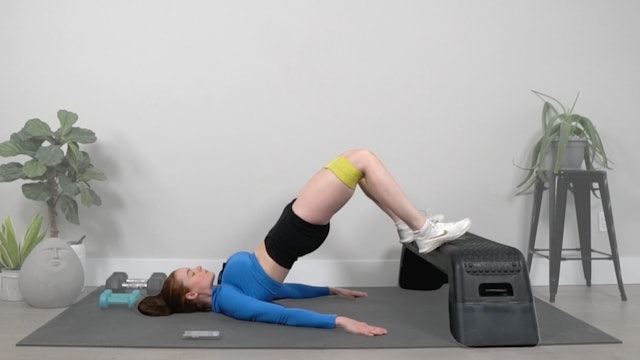
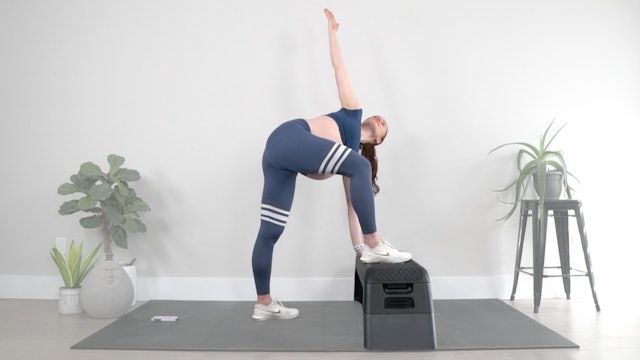
Band Booty Burn
12m | Beginner
Works Well For:
Muscle Building | Stability & Balance | GlutesEquipment Needed:
Team Bands, Box -
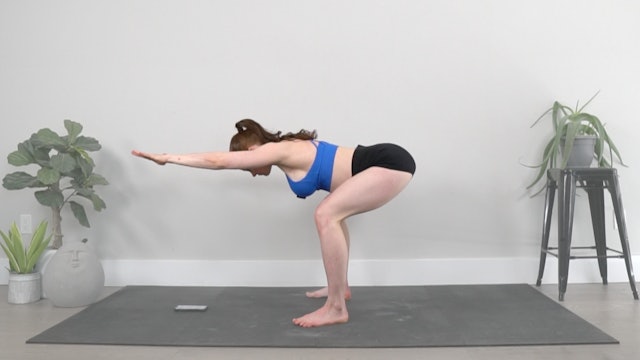
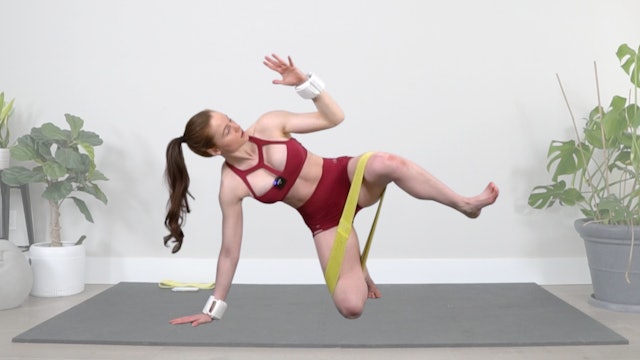
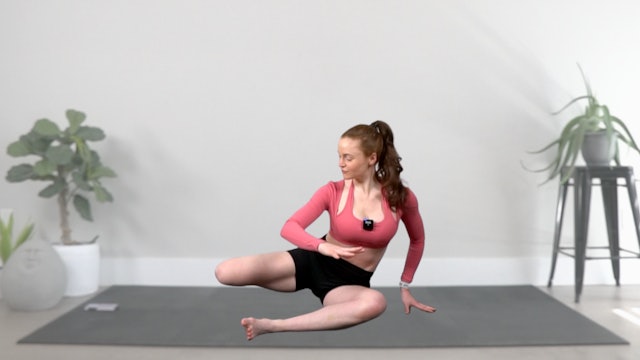
Quick Release Hip Mobility
17m | Beginner to Intermediate
Works Well For:
Mobility & Flexibility | RecoveryEquipment Needed:
N/A -
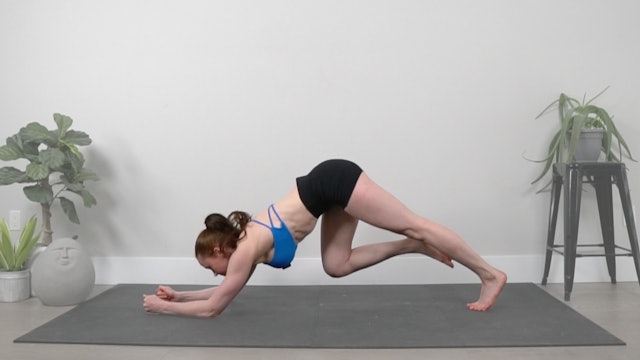
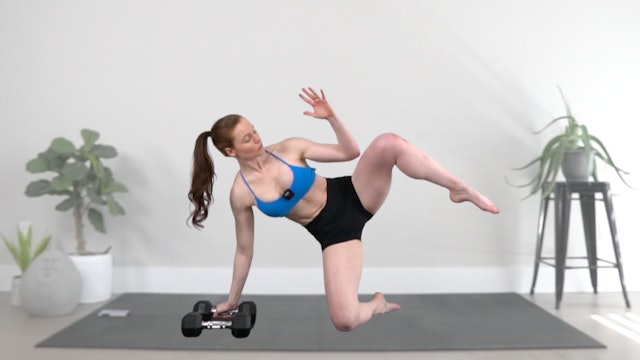
Quickie Core Control
13m | Intermediate
Works Well For:
Strength Training | Abs & Core | Pelvic Floor | Stability & Balance | Mobility & FlexibilityEquipment Needed:
N/A -
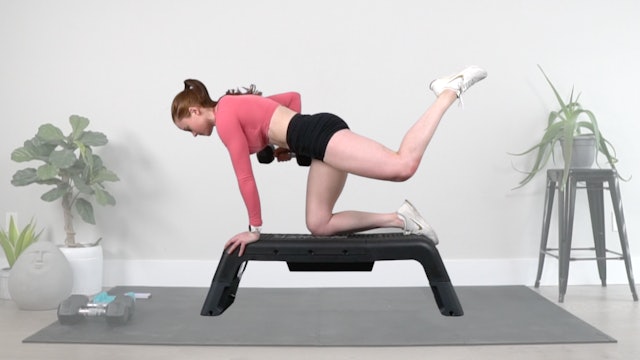
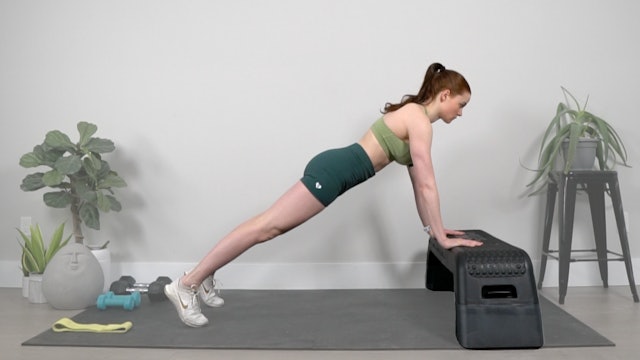
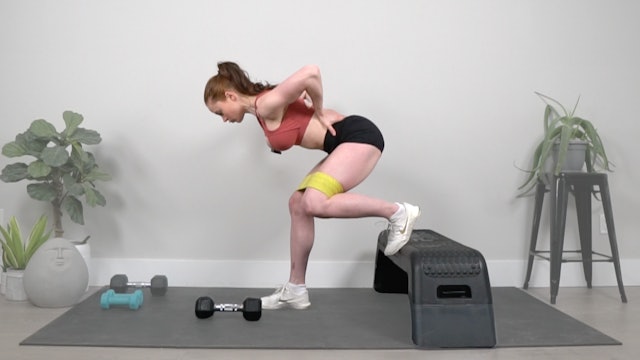
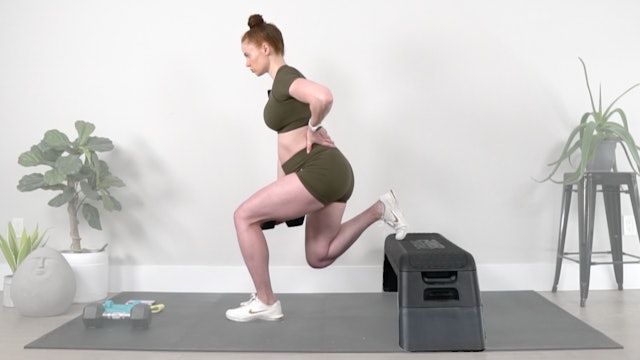
Athlete Ready Full Body Strength
43m | Intermediate
Works Well For:
Strength Training | Abs & Core | Stability & BalanceEquipment Needed:
Light dumbbells (5-10 lbs), Heavy dumbbells (15-30 lbs), Team Bands, Box -
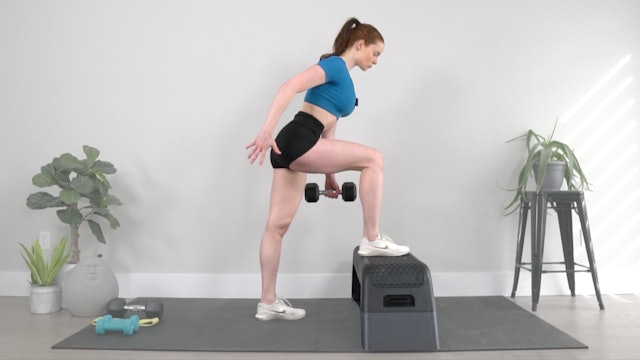
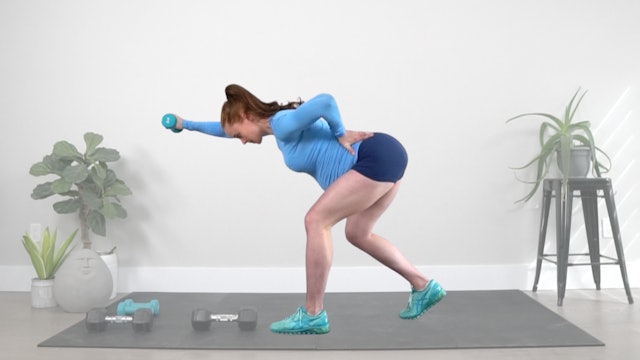
Upper Body & Core Sculpt With Weights
23m | Intermediate
Works Well For:
Muscle Building | Stability & Balance | Abs & CoreEquipment Needed:
Light dumbbells (5-10 lbs), Heavy dumbbells (15-30 lbs) -
Full Body Strength Foundations
22m | Beginner
Works Well For:
Strength Training | Abs & Core | Stability & BalanceEquipment Needed:
Light dumbbells (5-10 lbs), Heavy dumbbells (15-30 lbs), Team Bands, Box -
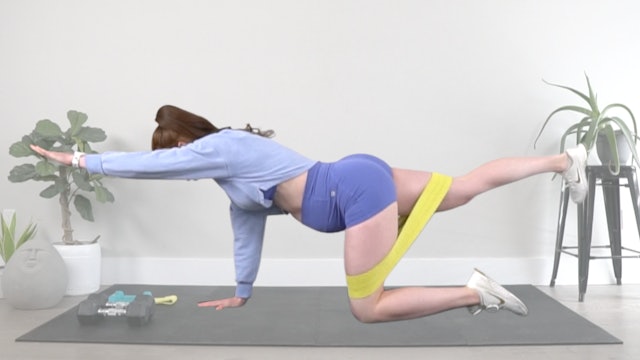
Glute-Focus Full Body Sculpt
28m | Intermediate
Works Well For:
Strength Training | Abs & Core | Stability & BalanceEquipment Needed:
Light weights (1-3 lbs) (optional), Team Bands (optional) -
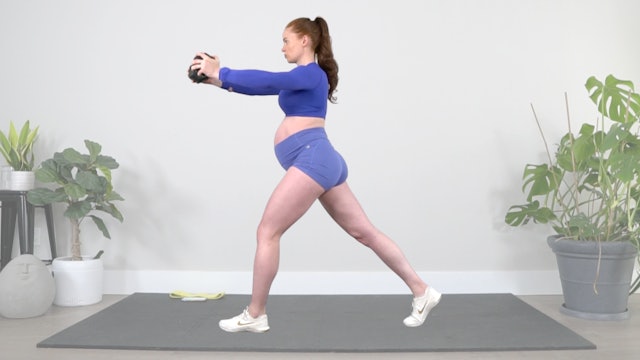
Full Body Power Up
33m | Intermediate to Advanced
Works Well For:
Strength Training | Power | Abs & Core | Stability & BalanceEquipment Needed:
Light dumbbells (5-10 lbs), Heavy dumbbells (15-30 lbs), Team Bands, Box -
Full Body Strength & Stability
27m | Intermediate
Works Well For:
Strength Training | Abs & Core | Pelvic Floor | Stability & BalanceEquipment Needed:
Light dumbbells (5-10 lbs), Heavy dumbbells (15-30 lbs) -
Functional Core For Low Back Pain
19m | Intermediate
Works Well For:
Strength Training | Abs & Core | Pelvic Floor | Stability & BalanceEquipment Needed:
Light dumbbells (5-10 lbs), Heavy dumbbells (15-30 lbs), Team Bands (optional) -
Functional Strength & Stability
25m | Intermediate
Works Well For:
Strength Training | Abs & Core | Pelvic Floor | Stability & BalanceEquipment Needed:
Light dumbbells (5-10 lbs), Heavy dumbbells (15-30 lbs) -
Low Back & Pelvic Mobility Flow
23m | Beginner
Works Well For:
Mobility & Flexibility | RecoveryEquipment Needed:
N/A -
Slow Build & Burn: Glutes
17m | Beginner
Works Well For:
Muscle Building | Stability & Balance | GlutesEquipment Needed:
Light dumbbells (5-10 lbs), Heavy dumbbells (15-30 lbs), Team Bands, Box -
Slow Build & Burn: Glutes
23m | Intermediate
Works Well For:
Muscle Building | Stability & Balance | GlutesEquipment Needed:
Light dumbbells (5-10 lbs), Heavy dumbbells (15-30 lbs), Team Bands, Box -
Functional Strength & Core
21m | Intermediate
Works Well For:
Strength Training | Abs & Core | Pelvic Floor | Stability & BalanceEquipment Needed:
Light dumbbells (5-10 lbs), Heavy dumbbells (15-30 lbs) -
Labor Intensity Interval Training MIIT
22m | Beginner to Intermediate
Works Well For:
Abs & Core | Endurance | Speed & Agility | Fat Burning | Weight LossEquipment Needed:
Light dumbbells (5-10 lbs), Heavy dumbbells (15-30 lbs), Team Bands (optional) -
Baby Intensity Interval Training MIIT
28m | Beginner
Works Well For:
Abs & Core | Pelvic Floor | Endurance | Speed & Agility | Mobility & Flexibility | Fat Burning | Weight LossEquipment Needed:
Box -
Full Body Heat
24m | Beginner to Intermediate
Works Well For:
Strength Training | Muscle Building | Fat Burning | Abs & CoreEquipment Needed:
Light dumbbells (5-10 lbs), Heavy dumbbells (15-30 lbs), Team Bands (optional) -
Energizing Abs
18m | Intermediate
Works Well For:
Strength Training | Abs & Core | Pelvic Floor | Stability & Balance | Mobility & FlexibilityEquipment Needed:
N/A -
Athlete Abs & Booty
18m | Beginner
Works Well For:
Abs & Core | Pelvic Floor | Strength Training | Stability & BalanceEquipment Needed:
Team Bands (optional) -
Full Body Strength
27m | Beginner to Intermediate
Works Well For:
Strength Training | Stability & Balance | Abs & CoreEquipment Needed:
Light dumbbells (5-10 lbs), Heavy dumbbells (15-30 lbs), Team Bands (optional) -
Megan Knees Stability
17m | Beginner
Works Well For:
Abs & Core | Stability & Balance | Hip Stability | Knee StabilityEquipment Needed:
Team Bands (optional) -
Full Body Bootcamp
27m | Beginner to Intermediate
Works Well For:
Metabolic Conditioning | Fat Burning | Endurance | Speed & Agility | Abs & CoreEquipment Needed:
Light dumbbells (5-10 lbs), Heavy dumbbells (15-30 lbs), Team Bands (optional) -
Cardio Party
22m | Beginner
Works Well For:
Endurance | Speed & Agility | Fat Burning | Weight LossEquipment Needed:
N/A